I recently got my first welder, the Harbor Freight Chicago Electric 170 Amp MIG/Flux Wire Welder. It welded well for me out of the box (granted, I don't have anything to compare it to) but thanks to Bluewelders, mobes, and others on this forum, I got brave enough to mod it.
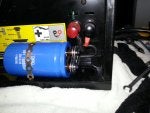
I added a capacitor, a switch (so I can remove the capactor from the equation if I find I have too much juice, for sheet metal for example), and a bleed resistor. I used 10 gauge wire to hook it all up. I also added a small cap on the feed motor. If you need help doing any of these mods, you can't get any more dummy-proof than the instructions in mobes' thread HERE. His disclaimer about not being responsible for you hurting yourself, wife, brother, dog, etc. applies here as well. If you need help, ask, don't guess! (I probably won't be able to help, but there are people way smarter than me on this forum)
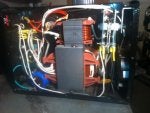
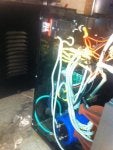
The elements are moved around in this welder as compared to the 151, but they all look pretty much the same so they are easy to identify...the positive side of the rectifier is on the LEFT in the photos below. Also note, on this welder, the fan mod and the second rectifier for the feed motor are not necessary. The feed motor cap is optional...I'm not sure if mine is doing anything, but its not hurting anything either...might see a difference after I have used it for a while.
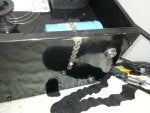
So the only thing I did differently from him is added a switch so the mod was instantly removable if I wanted it to be. I got a simple single pole toggle switch (20 amp, 120v ac, like THIS ONE) and just wired it into the positive side of the cap circuit leading to the rectifier. Cut a little hole in the front of my welder and mounted it there so I could quickly add the capacitor or remove it as it suited me.
I got all my parts from digikey except the switch, which I picked up at Home Despot:
Part Number 565-3298-ND - CAP ALUM 100000UF 50V 20% SCREW - $43.54
Part Number 493-1081-ND - CAP ALUM 100UF 35V 20% RADIAL - $0.28
Part Number KAL25FB50R0-ND - RES 50 OHM 25W 1% ALUM WW - $3.08
To be continued in next post...
Tim


